Managing Network Policies
Network Policies allow you to create alerts based on rule violations. For example, the finance network zone can only be accessed by those in the finance group within the Active Directory. This is driven from Network Zones and Active Directory group membership.

Adding a Network Policy
- Click the ADD POLICY button. The New Policy dialog displays.
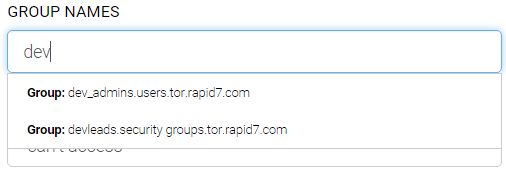
- Enter the group name in the Group Names search field. As you type in the name, the search field is populated based on related information imported from the LDAP. If you don't see an expected name, check your LDAP settings.
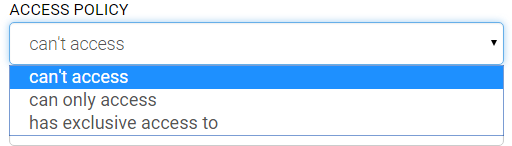
- Select the access policy from the Access Policy dropdown menu.
- Select the zone from the Zone dropdown menu.
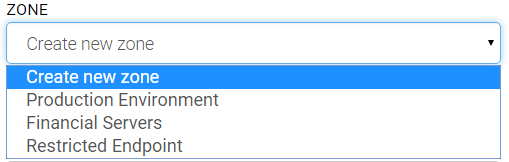
- Enter the name of the zone in the Zone Name field. Note: If you select an existing zone, the Zone Name and IP Ranges fields become hidden since they were defined when the existing zone was defined. In this case, the group names and access policies are added to the existing zone.
- Enter the IP range(s) in the IP Ranges field. The format is xxx.xxx.x.x/xx where the values before the slash (/) are the starting range and the value after the slash is the last entry in the range. For example, the range 192.168.1.0/24 defines the values 192.168.1.0, 192.168.1.1, 192.168.1.2, to the address 192.168.1.24.
- Click the Save button.