Installing AppSpider Pro
The AppSpider installer uses a graphical interface to guide you through the installation process. Installation is a simple process that takes you through a series of prompts to identify the components you want to install and the location you want to install them. After you configure your preferences, the installer installs the components that are necessary to run AppSpider Pro.
System Requirements
Before you install AppSpider Pro, please make sure that your system meets the latest requirements.
Installing AppSpider Pro
Now that you've reviewed the system requirements, you're ready to download and install AppSpider Pro. To download the installer, go to http://download2.rapid7.com/download/AppSpider/AppSpiderSetup.exe.
After you have downloaded the installer, you can follow the instructions below to install AppSpider Pro:
- Double-click the AppSpider installer icon.
- You may be prompted to enter your credentials to run the program as an administrator.
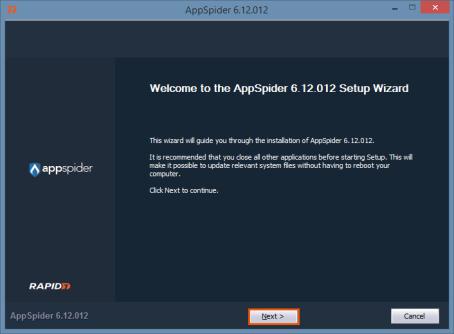
- hen the Welcome screen appears, click Next to continue.
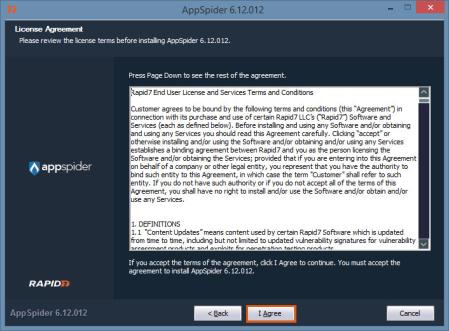
- Read the license agreement and click I Agree to continue.
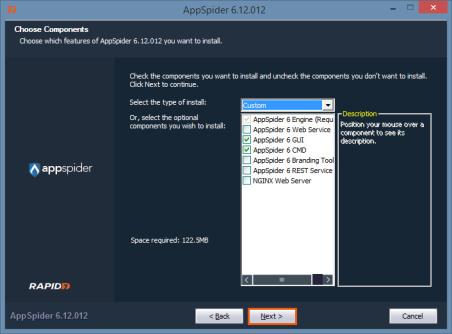
- The next screen allows you to choose the components you want to install. The default selections are recommended, but you can also choose from the following components:
- AppSpider Engine - The core component that runs AppSpider. This is a required component; AppSpider cannot run without it.
- AppSpider WebService - The service that runs the AppSpider web interface.
- AppSpider GUI - The component that is used to manage scans, monitoring, and reporting.
- AppSpider CMD - The component that enables you to use the command line to manage a scan engine.
- AppSpider Branding Tool - The tool that enables you to create custom branded reports.
- AppSpider REST Service - The REST API that enables you to manage scan engines over FAST CGI. Do not select this if you are installing AppSpider Pro or AppSpider Enterprise installs.
- NGINX Web Server - The web server that manages FAST CGI over HTTP/HTTPS. Do not select this if you are installing AppSpider Pro or AppSpider Enterprise installs.
- After you select the components you want to install, click Next.
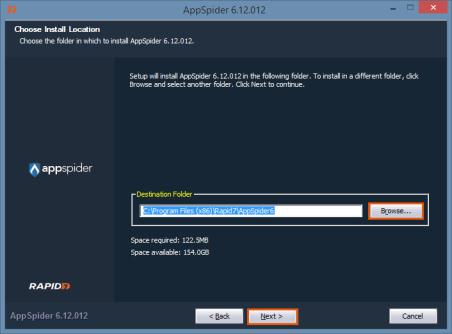
- Select the location you want to use to install AppSpider Pro and click Next.
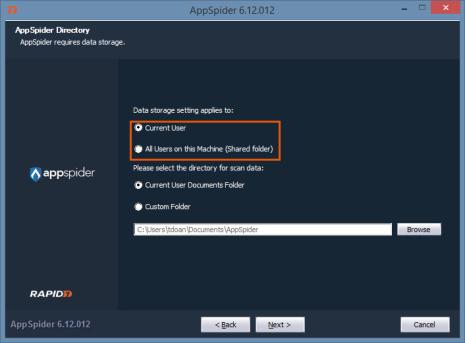
- Choose how you want the data storage to impact other users on the system.
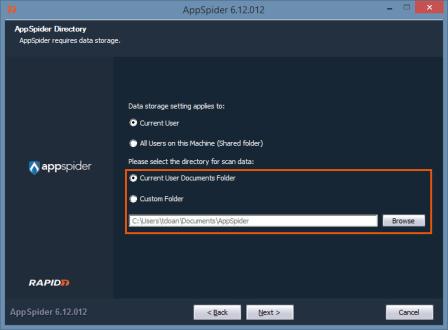
- Select the location where you want to store your scan data.
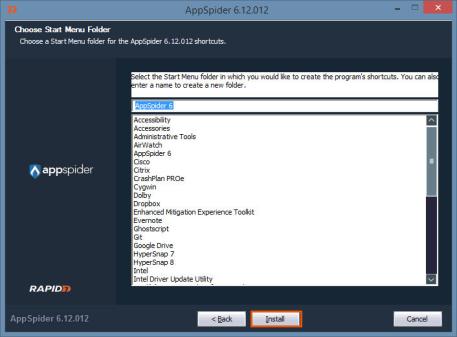
- Select the folder you want to use in the Start menu for AppSpider and click Install when you are ready install AppSpider Pro.
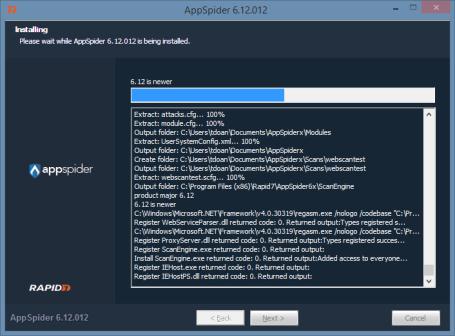
- The progress screen displays and shows you the status of the installation. When the installation completes, click Next to finish and start AppSpider Pro.
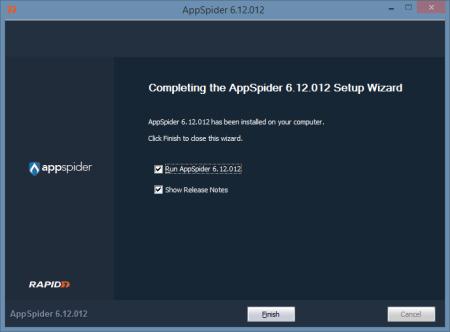
- On the next screen, you can choose to start AppSpider Pro and review the release notes. Select the actions you want to perform and click Finish.
If you decided to launch AppSpider Pro, a window appears and prompts you to enter your product key.
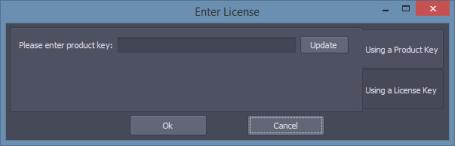
If you do not have a product key, click Cancel to start AppSpider Pro in demo mode.
Congratulations! You have finished installing AppSpider Pro. You are now ready to configure your first scan.
What's Next?